|
Update Site
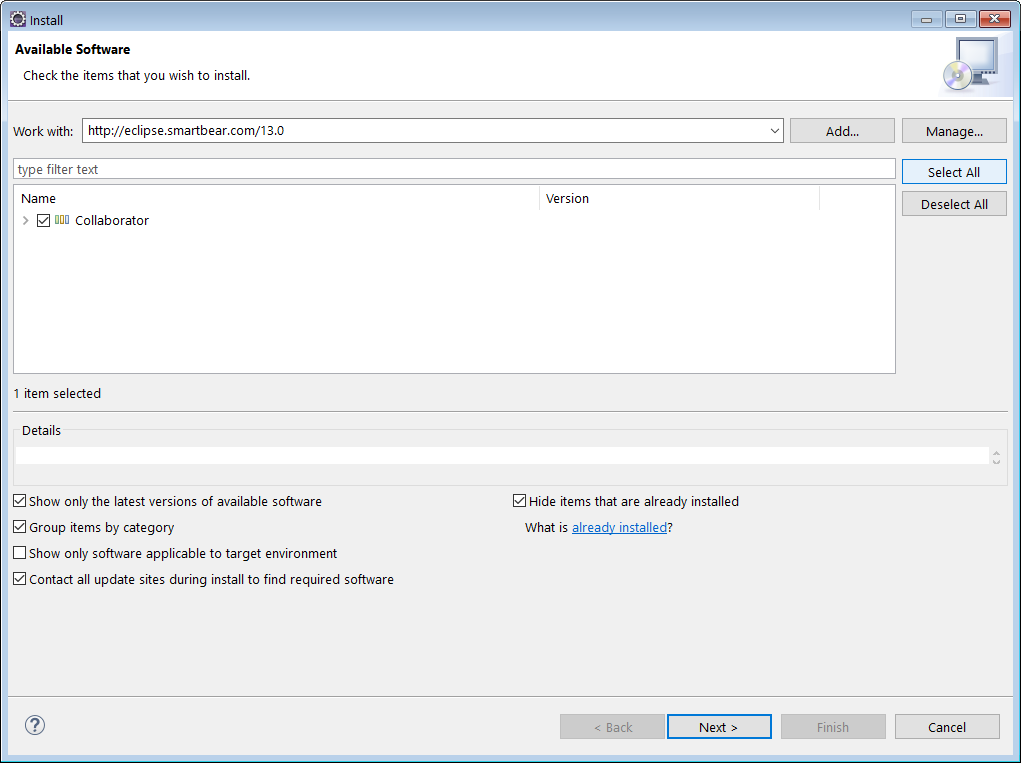
Eclipse can be configured to automatically download the Collaborator plug-in, and even to check periodically for updates. If you already know how to do this, all you will need to know is that our Eclipse update site is located here:
http://eclipse.smartbear.com/14.0
Otherwise, read on for step-by-step installation instructions.
Installation Instructions
Here are detailed instructions for how to install our plug-in in Eclipse:
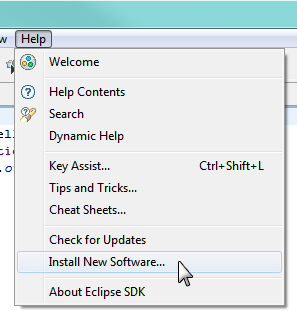
| 2. | Select Help | Install New Software from the main menu.
 |
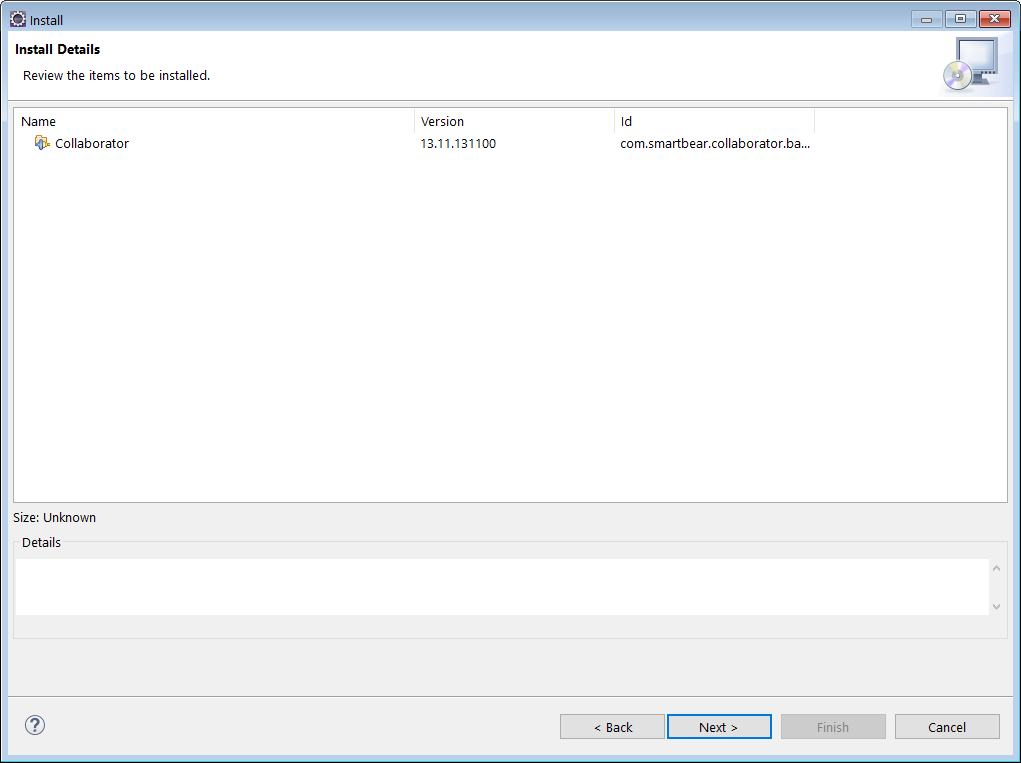
| 4. | Click Next to finish the "Install Details" page. |
| 5. | Check "I accept the terms of the license agreement" and click Finish to start the install. 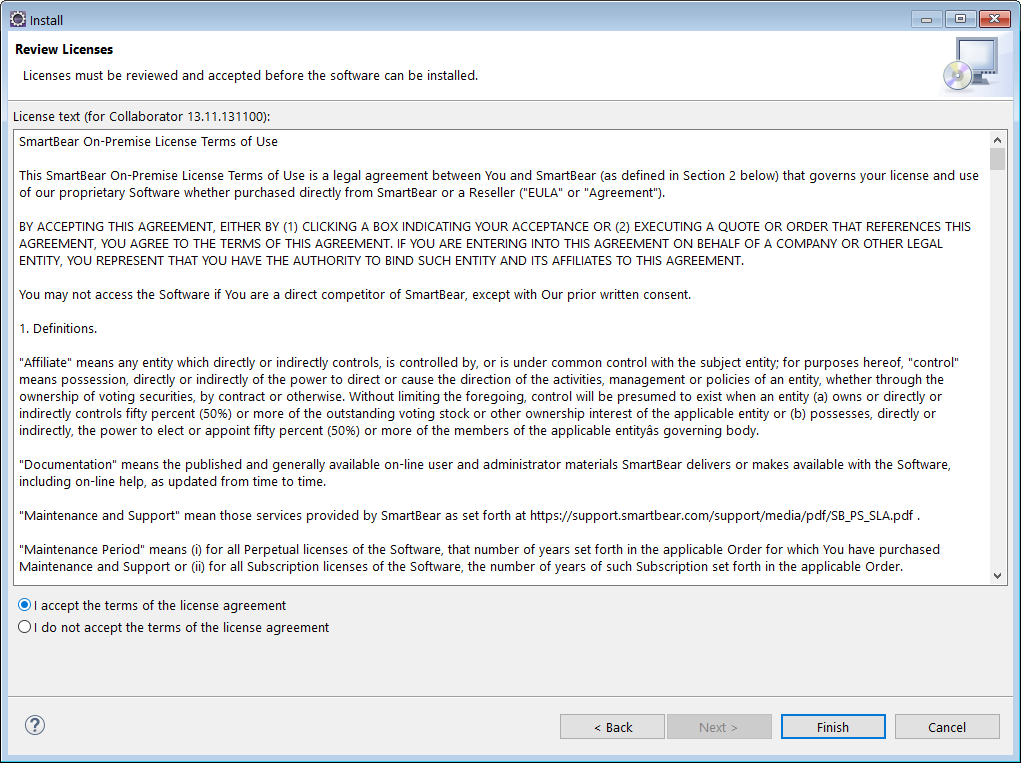 |
| 6. | A progress dialog appears as Eclipse installs the plug-ins. |
| 7. | Click Install anyway to close the "Security Warning" popup about unsigned plug-ins.
 |
| 8. | Click Yes in the "Software Updates" popup to restart Eclipse. |
Uninstallation Instructions
To uninstall the plugin:
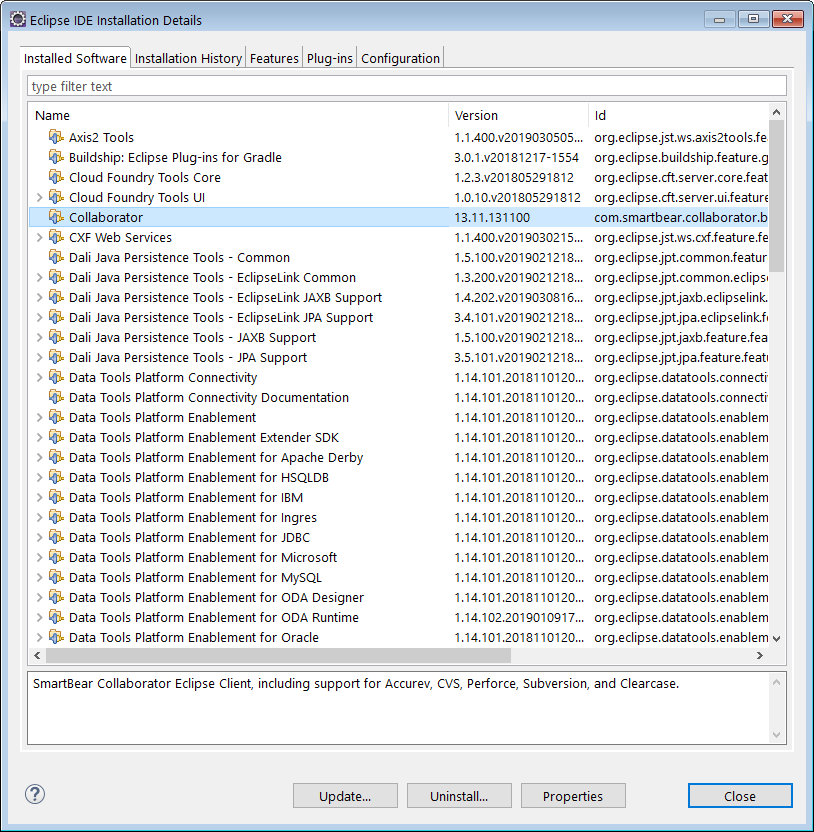
| 2. | Select Help | About from the main menu. Click Installation Details. This will open a dialog with more details about your installation. |
| 3. | Click the Installed Software tab to see a list of the software items that you have installed into your system. |
| 4. | Select Collaborator and click Uninstall.
 |
Additionally you will need to remove the Collaborator's Eclipse Plug-in files from the Eclipse plugins folder. This is especially important if you plan to re-install the plugin later.
| 1. | Go to Eclipse plugins folder. It is typically located at the following path: |
<user_home>/.p2/pool/plugins
| 2. | Select all jar-files and folders that start with com.smartbear.collaborator. |
| 3. | Delete these files and folders from the Eclipse plugins folder. |
|